Getting Started with Hubdoc
Introduction
This guide outlines the steps you should follow upon receiving an email invitation from us to collaborate in Hubdoc. The process includes account creation, setup, and authentication for access to the Hubdoc platform. It covers both web and mobile app access methods.
Table of Content
- Initiating Access to Hubdoc via Email Invitation
- Sign Up
- Sign Up with Xero
- Sign Up with Email
- Initial Mobile App Sign-In with 2FA Setup
- App Download
- Initial Mobile App Sign-In
- Setting Up 2FA
- Configuring Authenticator App
Initiating Access to Hubdoc via Email Invitation
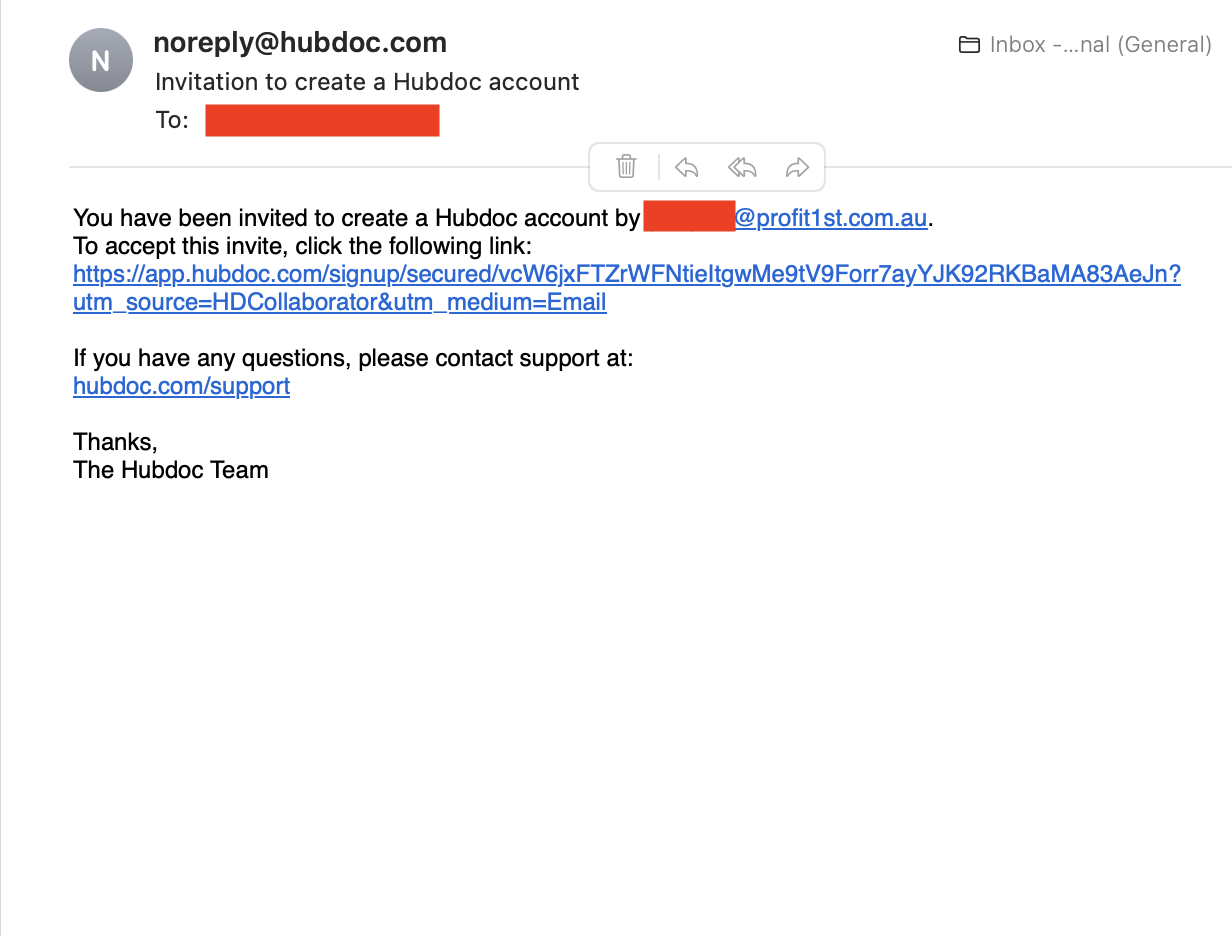
Upon receiving the email invitation from Hubdoc, click the provided link in the email to access the Hubdoc platform.
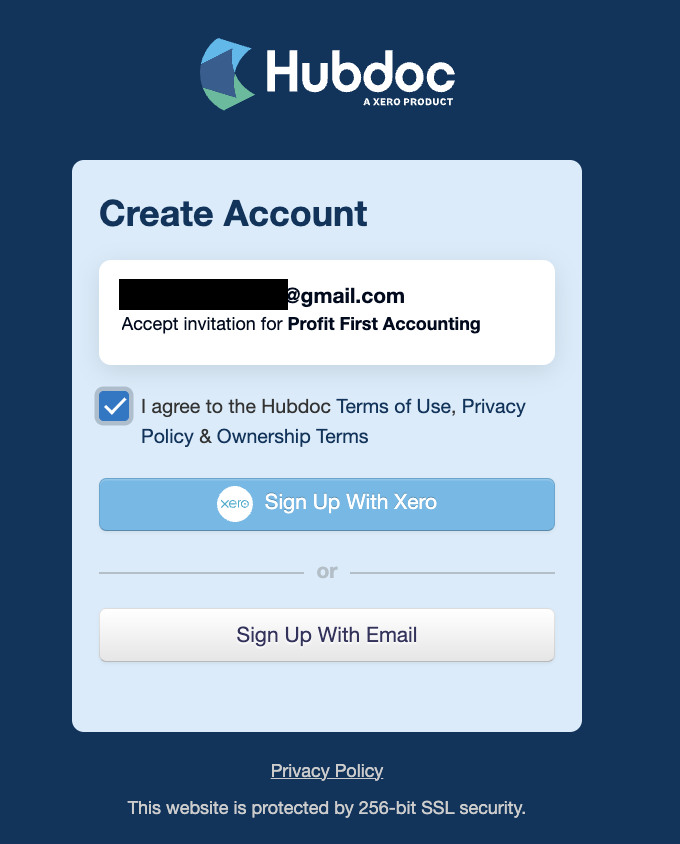
You will be redirected to a Hubdoc page. Locate and click the checkbox labeled "I agree to the Hubdoc Terms of Use, Privacy Policy, & Ownership Terms."
Sign Up
When joining the Hubdoc platform, you will be presented with multiple signup options to cater to your preferences and existing account affiliations. These options are designed to accommodate users who are part of the Xero ecosystem and those who are new to the platform.
Sign Up with Xero
If you have an existing Xero account, you have the option to utilise those credentials for Hubdoc access.
- Once you're redirected to the Hubdoc page, locate the checkbox labeled "I agree to the Hubdoc Terms of Use, Privacy Policy, & Ownership Terms."
- Below this checkbox, you will find the option to "Sign Up with Xero." Click on this option to proceed.
- You will be directed to a Xero login page. Enter your existing Xero email address and password to log in.
- After successfully logging in, your Xero account will be integrated with Hubdoc, providing you with a seamless and unified experience.
- Once the integration is complete, you will be granted access to Hubdoc using your Xero credentials. Explore the platform's features and collaborate effortlessly.
By choosing to access Hubdoc with your existing Xero account, you ensure the consolidation of your financial tools and optimise your workflow efficiency. This integration streamlines your access while maintaining the security of your account information.
Sign Up with Email
The "Sign Up with Email" option caters to users who are new to Hubdoc but may not be using Xero. Choosing this option allows users to create a Hubdoc account using their email address and a secure password. It's a practical approach for those who prefer an independent Hubdoc account without any Xero integration.
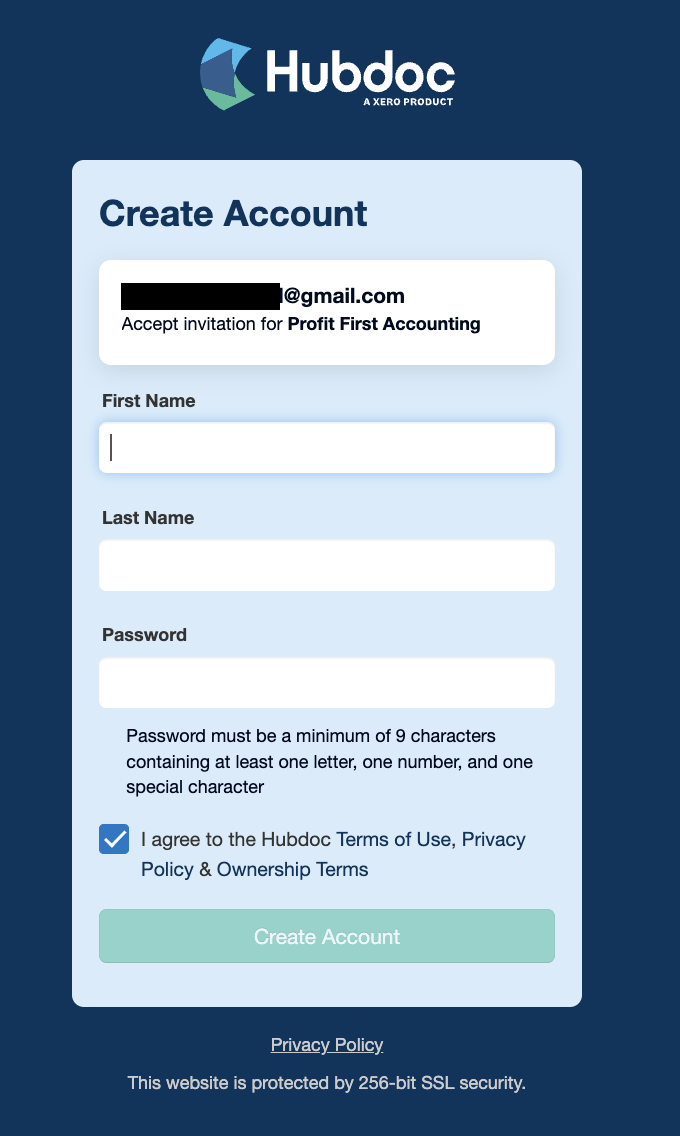
Fill in the required information:
- First Name
- Last Name
- Password (Minimum 9 characters, containing at least one letter, one number, and one special character)
- Check the box accepting the Hubdoc Terms of Use, Privacy Policy, & Ownership Terms.
- Click "Create an Account."
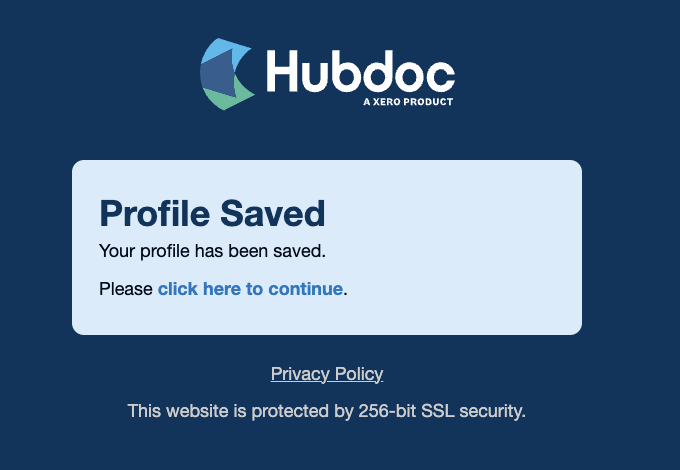
A confirmation message will appear: "Profile Saved. Your profile has been saved." Click the provided link to continue.
Initial Mobile App Sign-In with 2FA Setup
This process entails the essential steps for initiating your journey with Hubdoc's mobile app, accompanied by the setup of Two-Factor Authentication (2FA) for enhanced security. It's designed to provide a seamless experience from app download to account protection.
App Download
The first step involves downloading the Hubdoc mobile app, accessible from your device's app store. This secure app serves as your gateway to Hubdoc's features and functions, ensuring convenient access to your financial documents and data.
Download the Hubdoc mobile app:
- Android: https://play.google.com/store/apps/details?id=com.hubdoc.app&hl=en&gl=US
- iOS: https://apps.apple.com/ca/app/hubdoc/id715898031
Initial Mobile App Sign-In
Once downloaded, open the app. Here, you'll have the choice to either "Sign in with Xero" if you're already part of the Xero ecosystem, or "Sign in with email" if you're new to both Hubdoc and Xero. This step marks your initial connection to the Hubdoc platform through the mobile app.
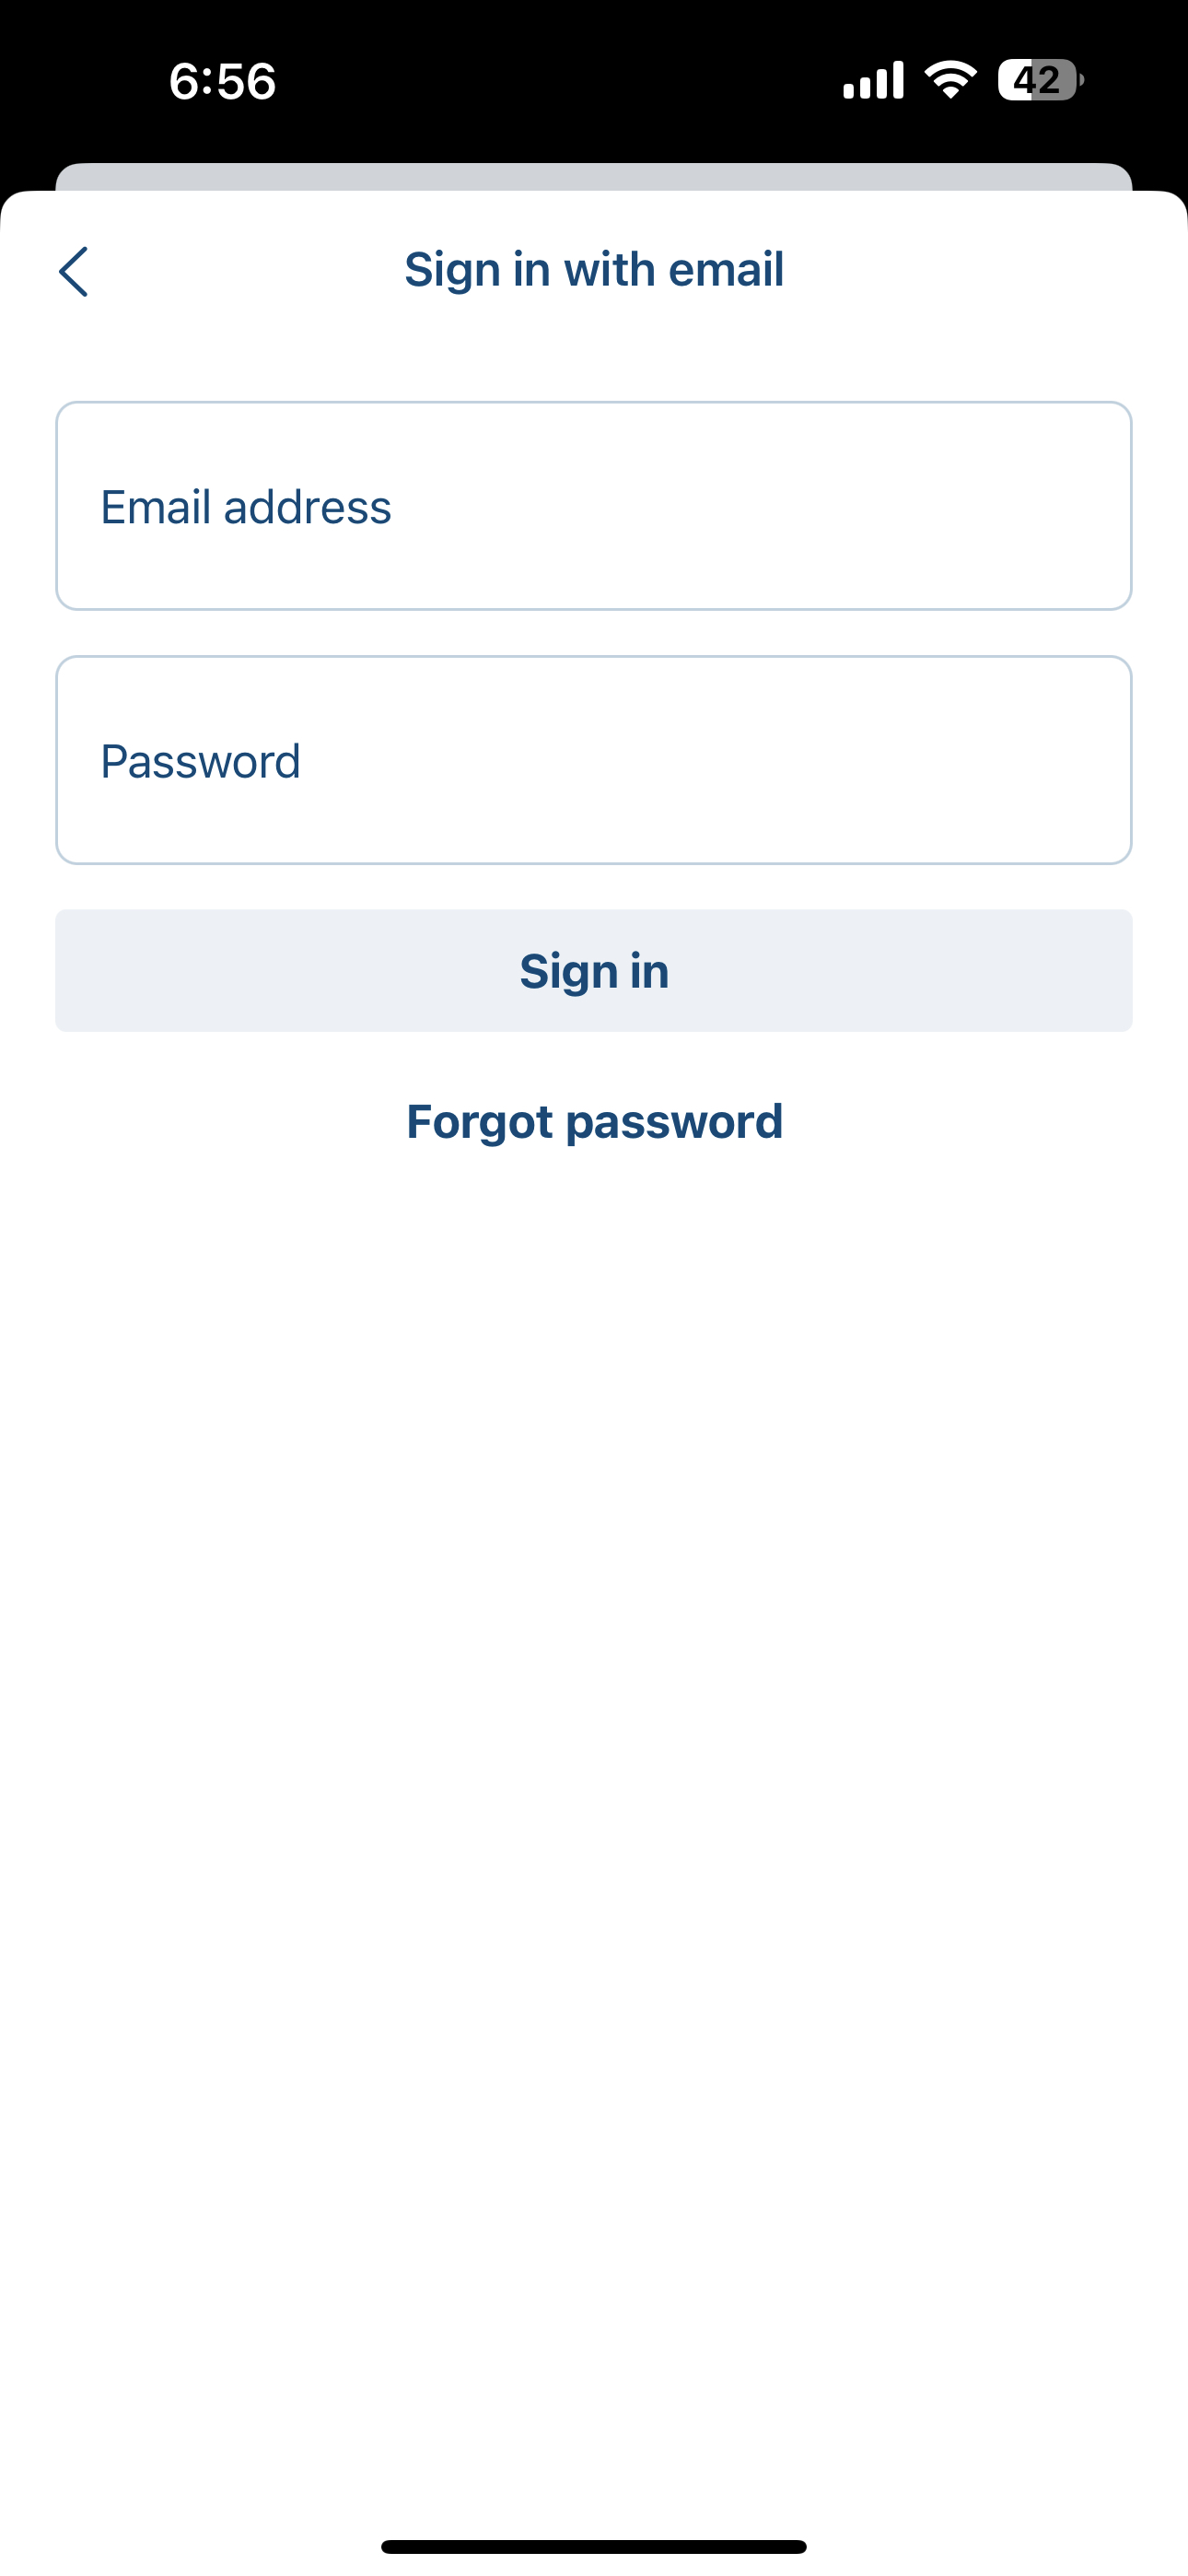
Sign In with Email
Enter your email address and password associated with your Hubdoc account.
Setting Up Two-Factor Authentication (2FA)
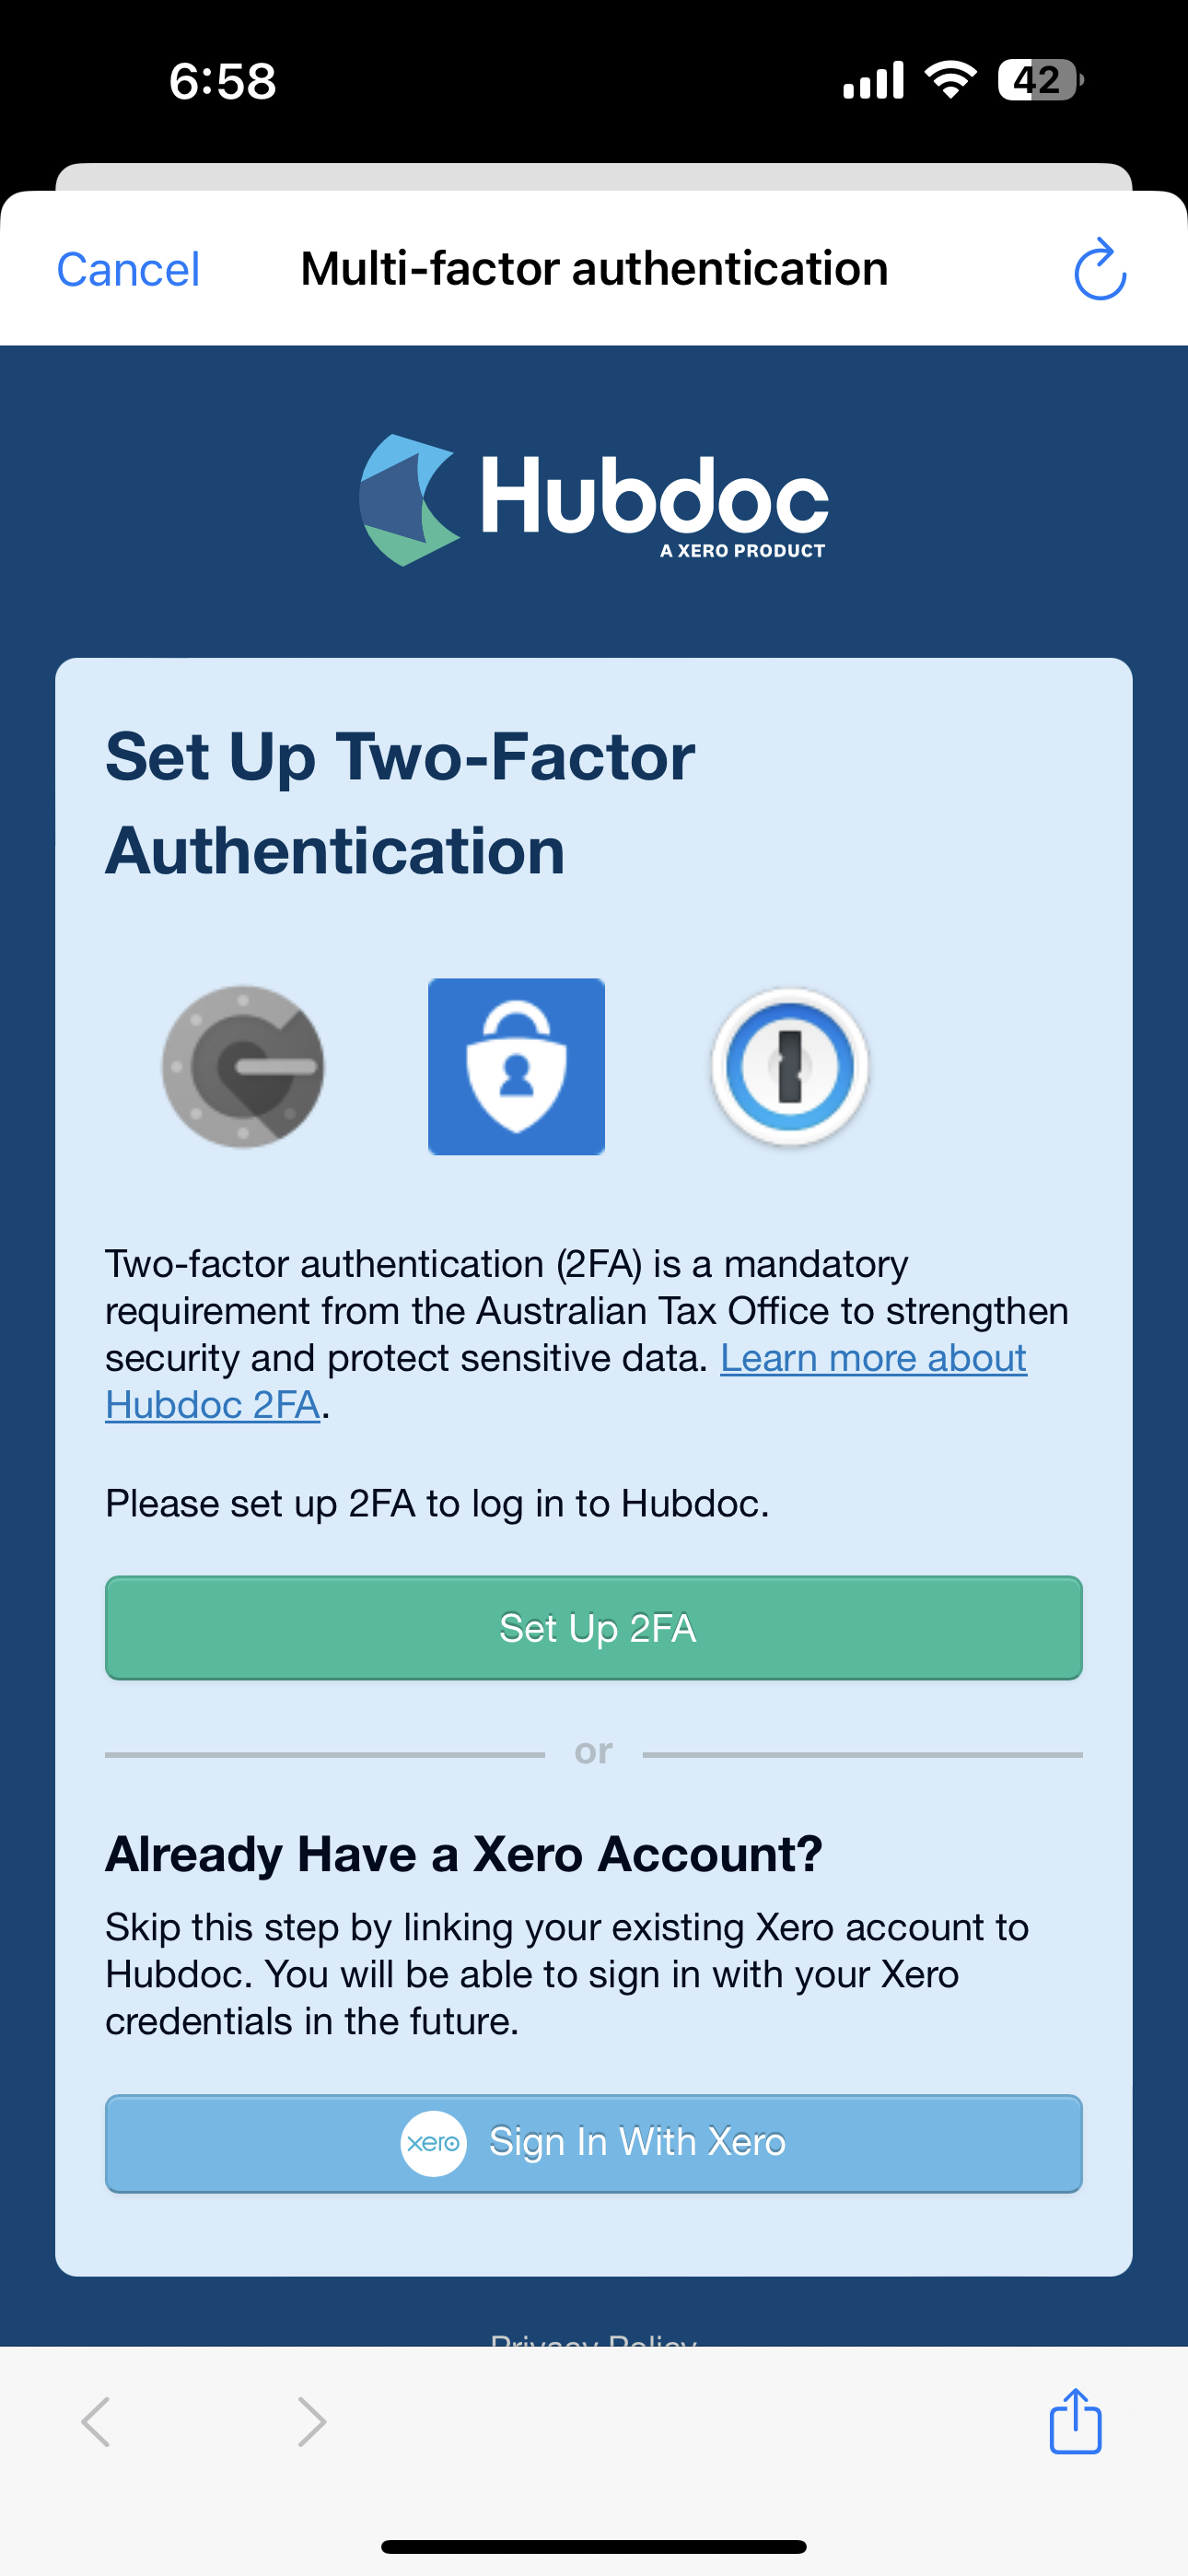
Following successful sign-in, the process prompts you to enable Two-Factor Authentication (2FA), an extra layer of security. By clicking "Setup 2FA," you embark on fortifying your account against unauthorised access.
- After signing in with email, you will be prompted to set up Two-Factor Authentication (2FA).
- Click "Setup 2FA."
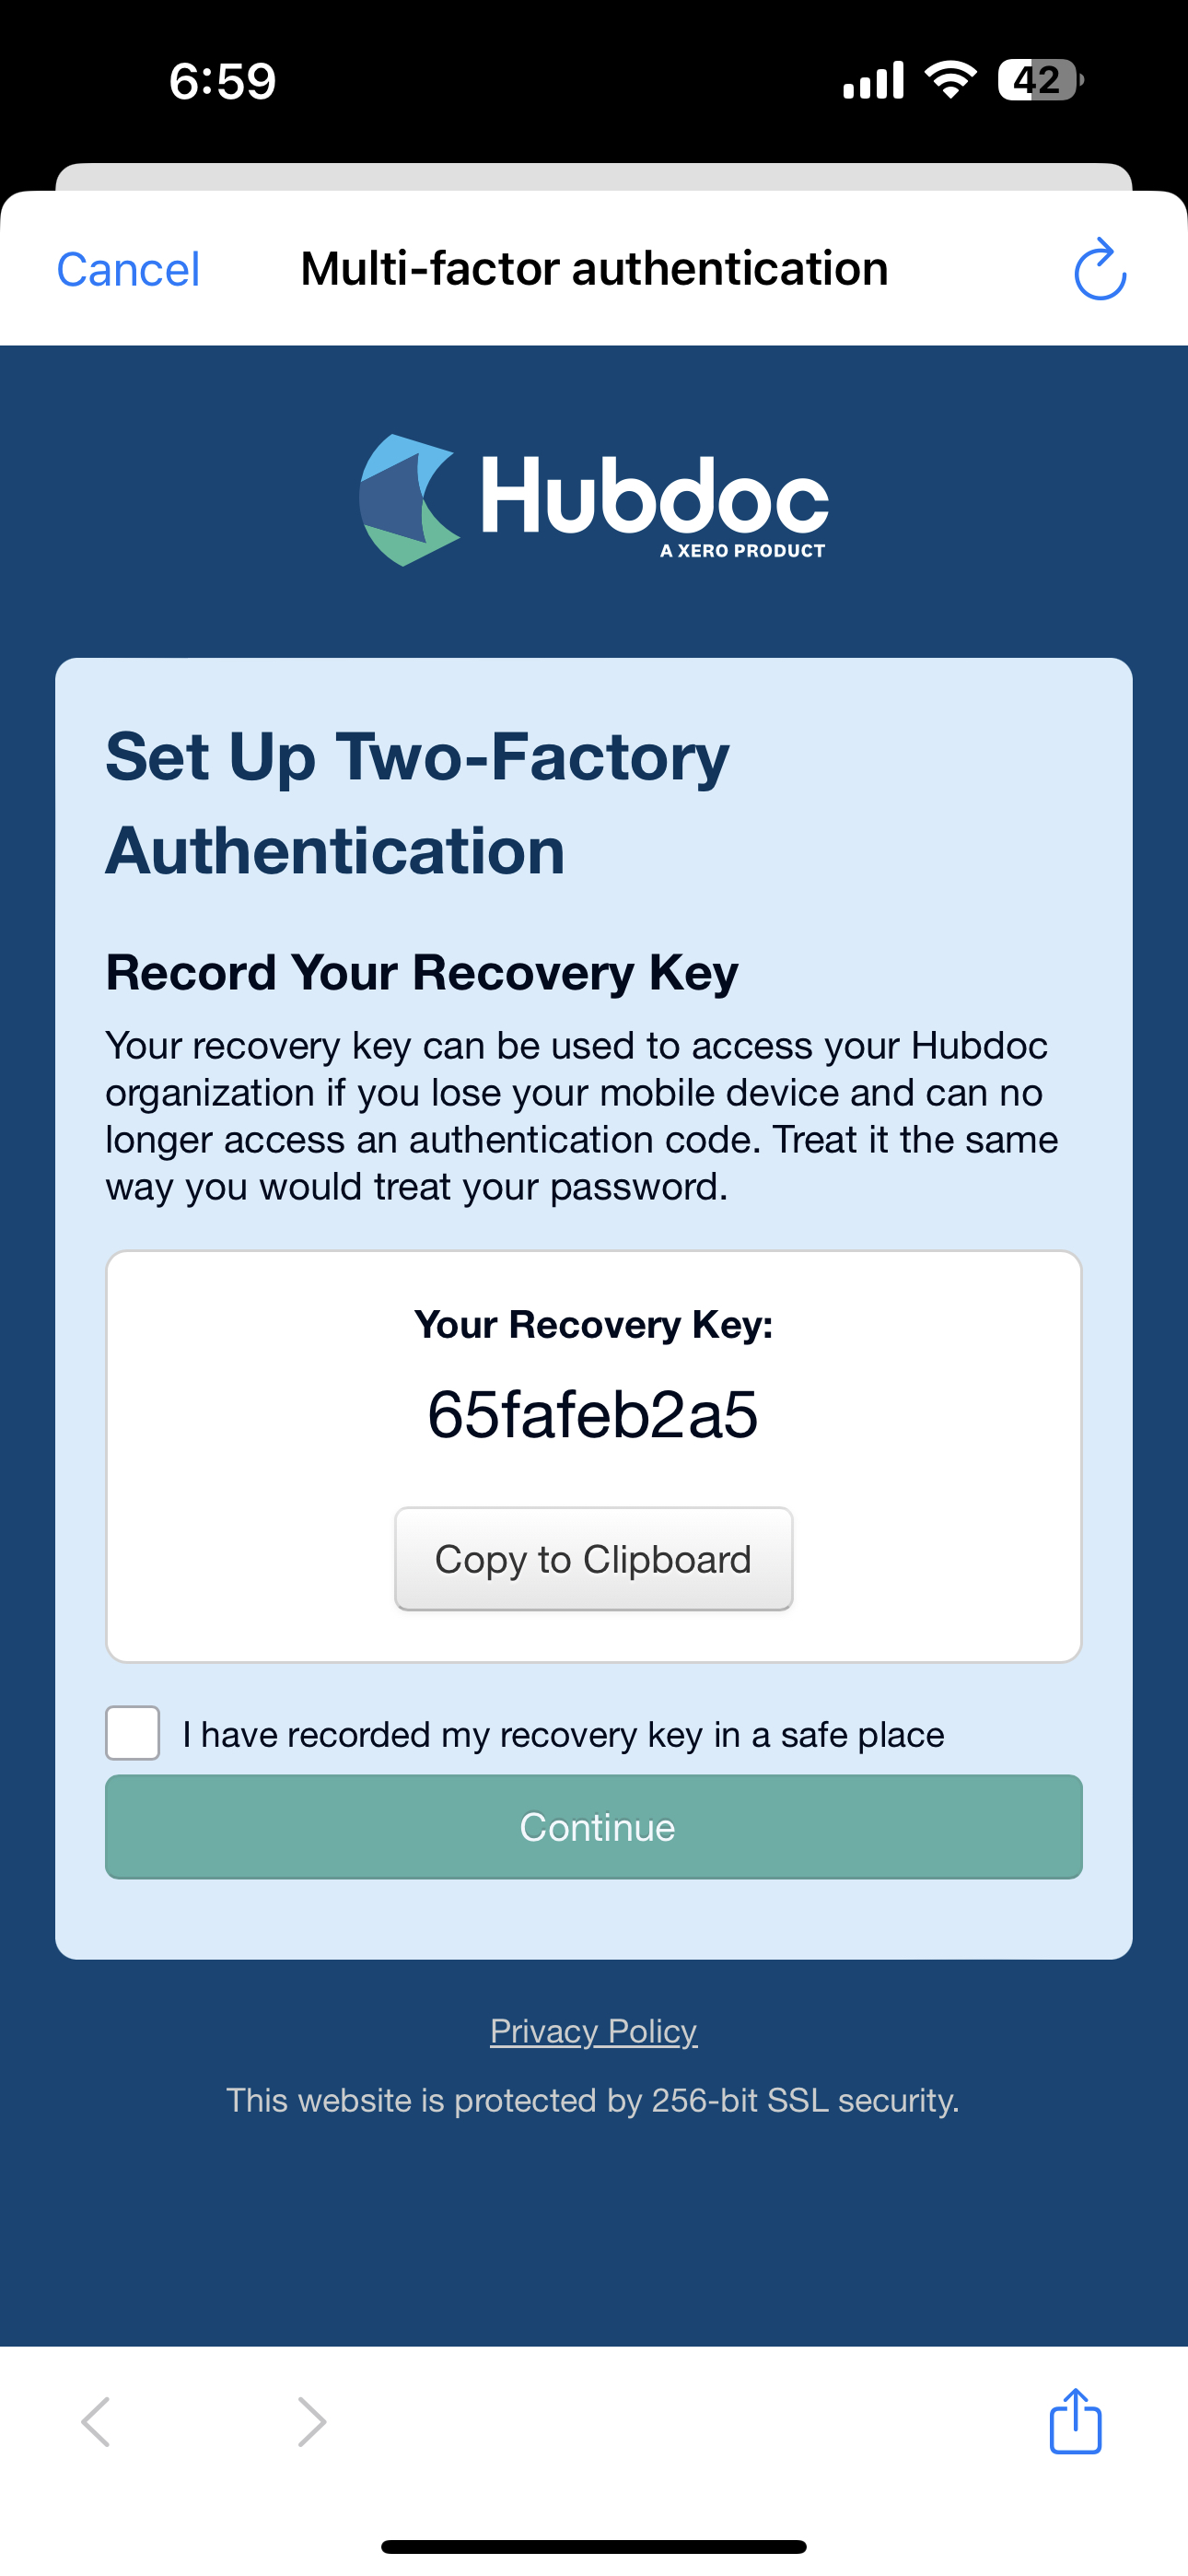
- Copy the provided Recovery Key and securely store it.
- Check the box "I have recorded my recovery key in a safe place."
- Click "Continue."
Configuring Authenticator App
As part of 2FA setup, you'll configure an authenticator app to provide a dynamic verification code during login attempts. The process includes choosing an authenticator app of your choice (such as Microsoft Authenticator) and integrating it with Hubdoc. This step ensures that your account remains exceptionally secure, preventing unauthorized access even in the event of a compromised password.
On the next steps, download an authenticator app of your choice (Microsoft Authenticator recommended).
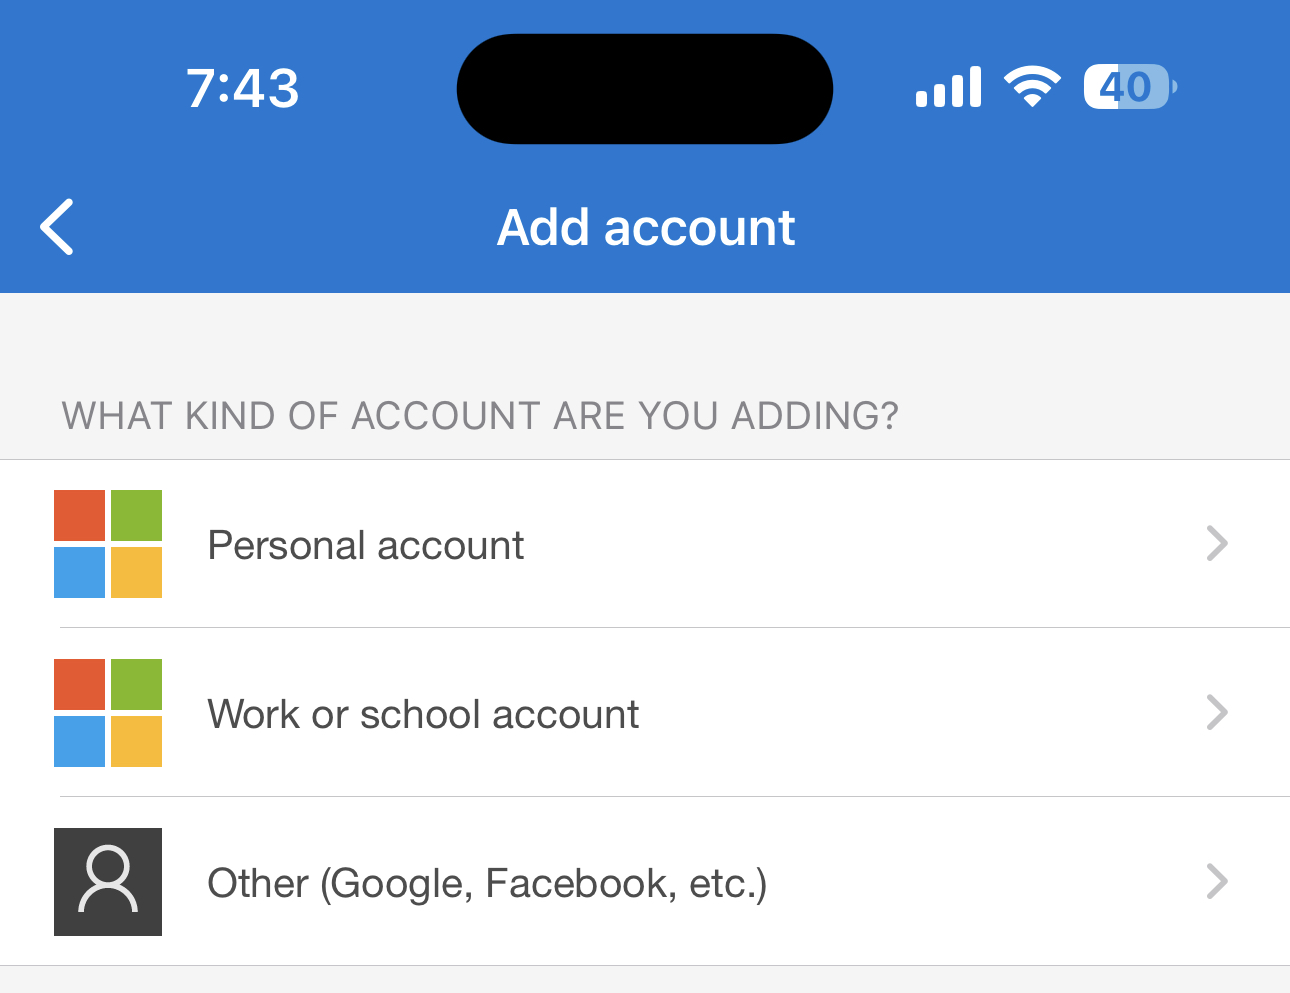
Authenticator Setup in Microsoft Authenticator
- Open the authenticator app.
- Click "Add" (usually at the top-right corner).
- Choose "Other" or similar.

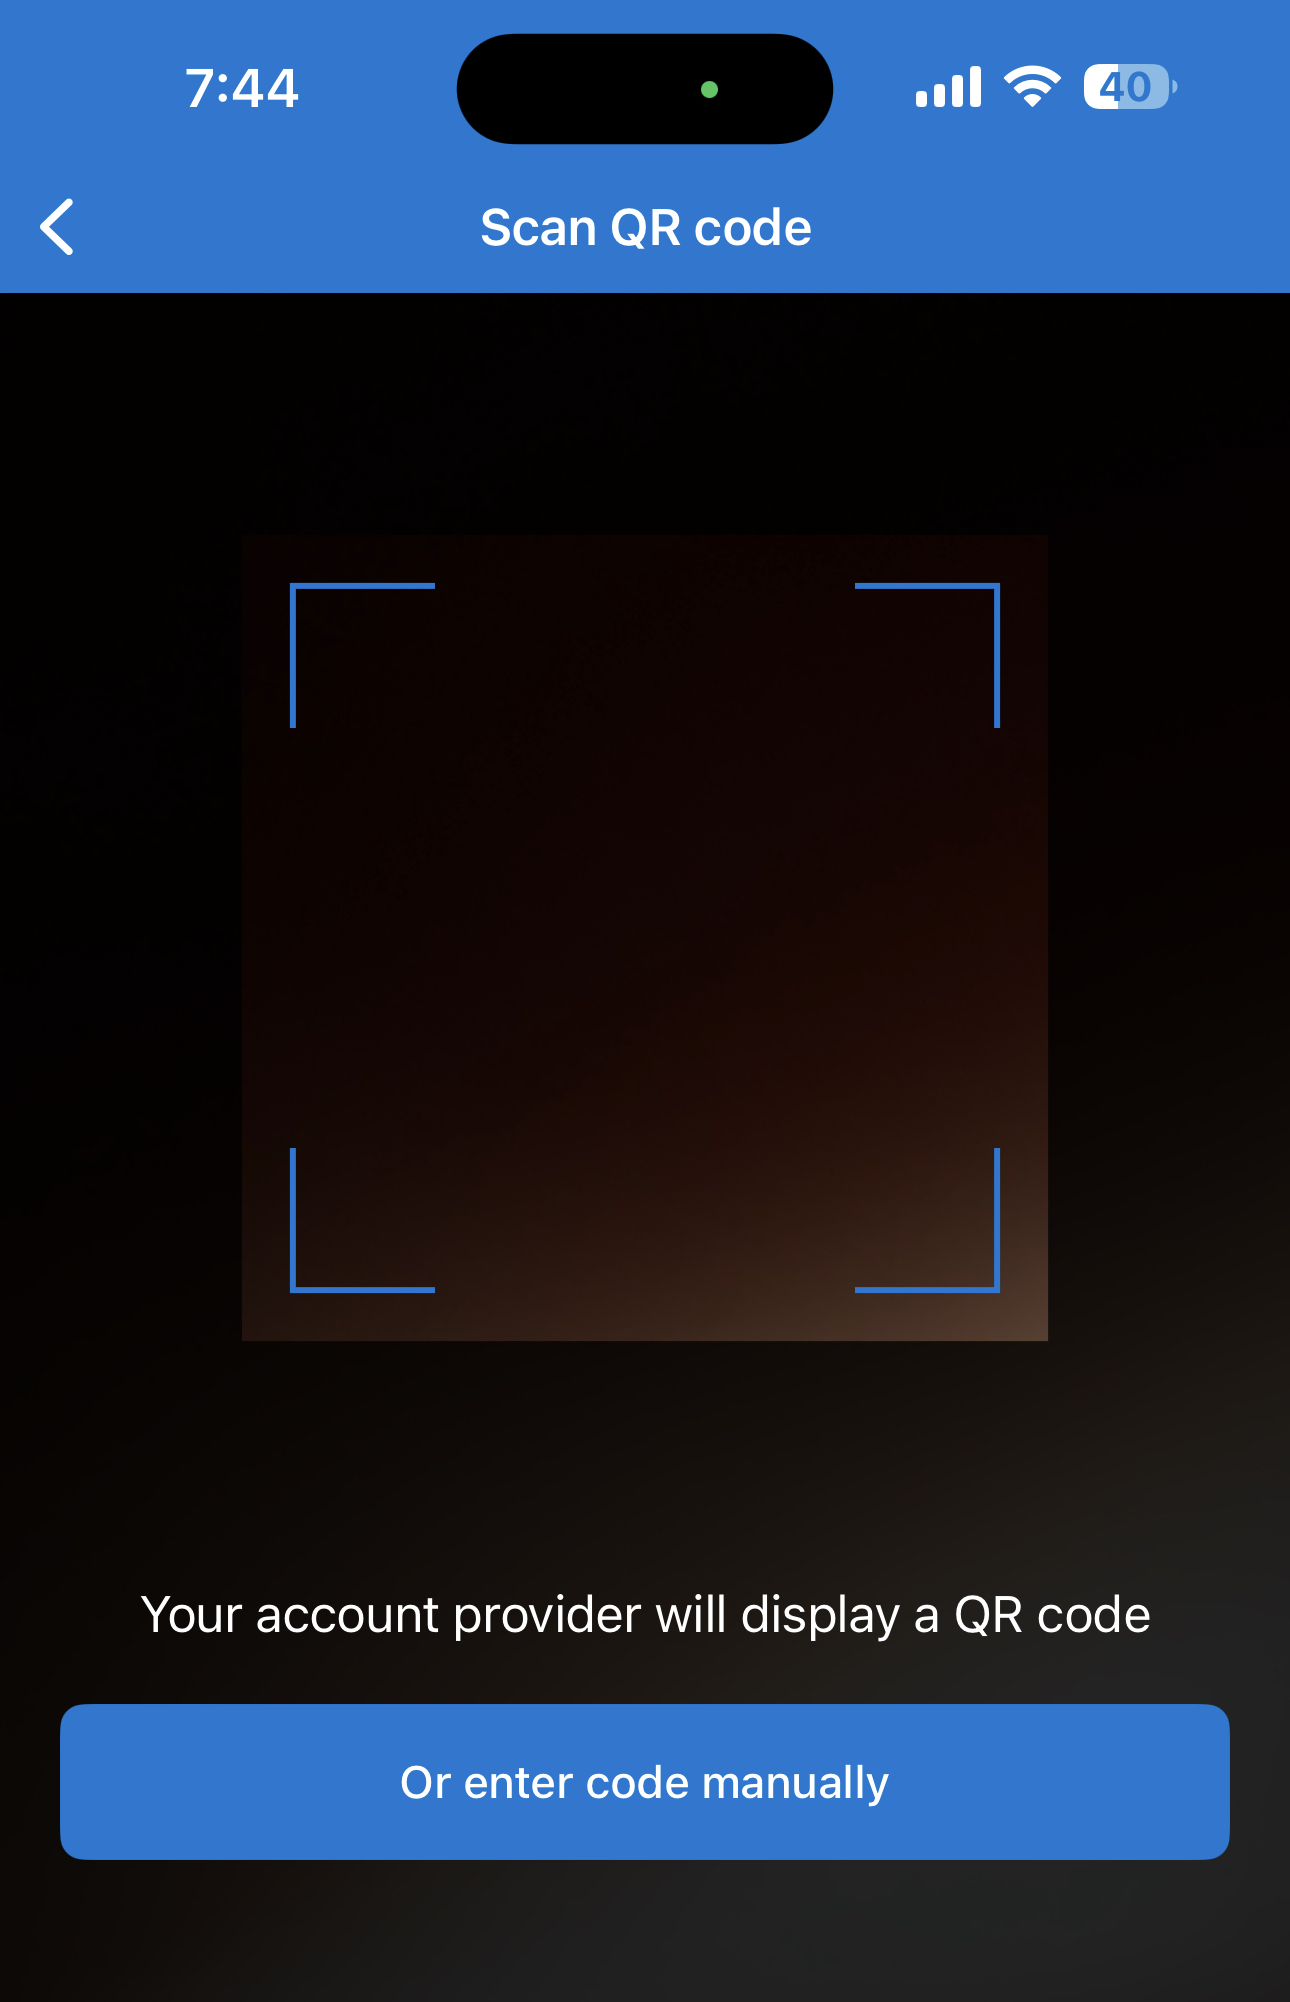
- Enter Manual Key
- Click "Enter code manually."
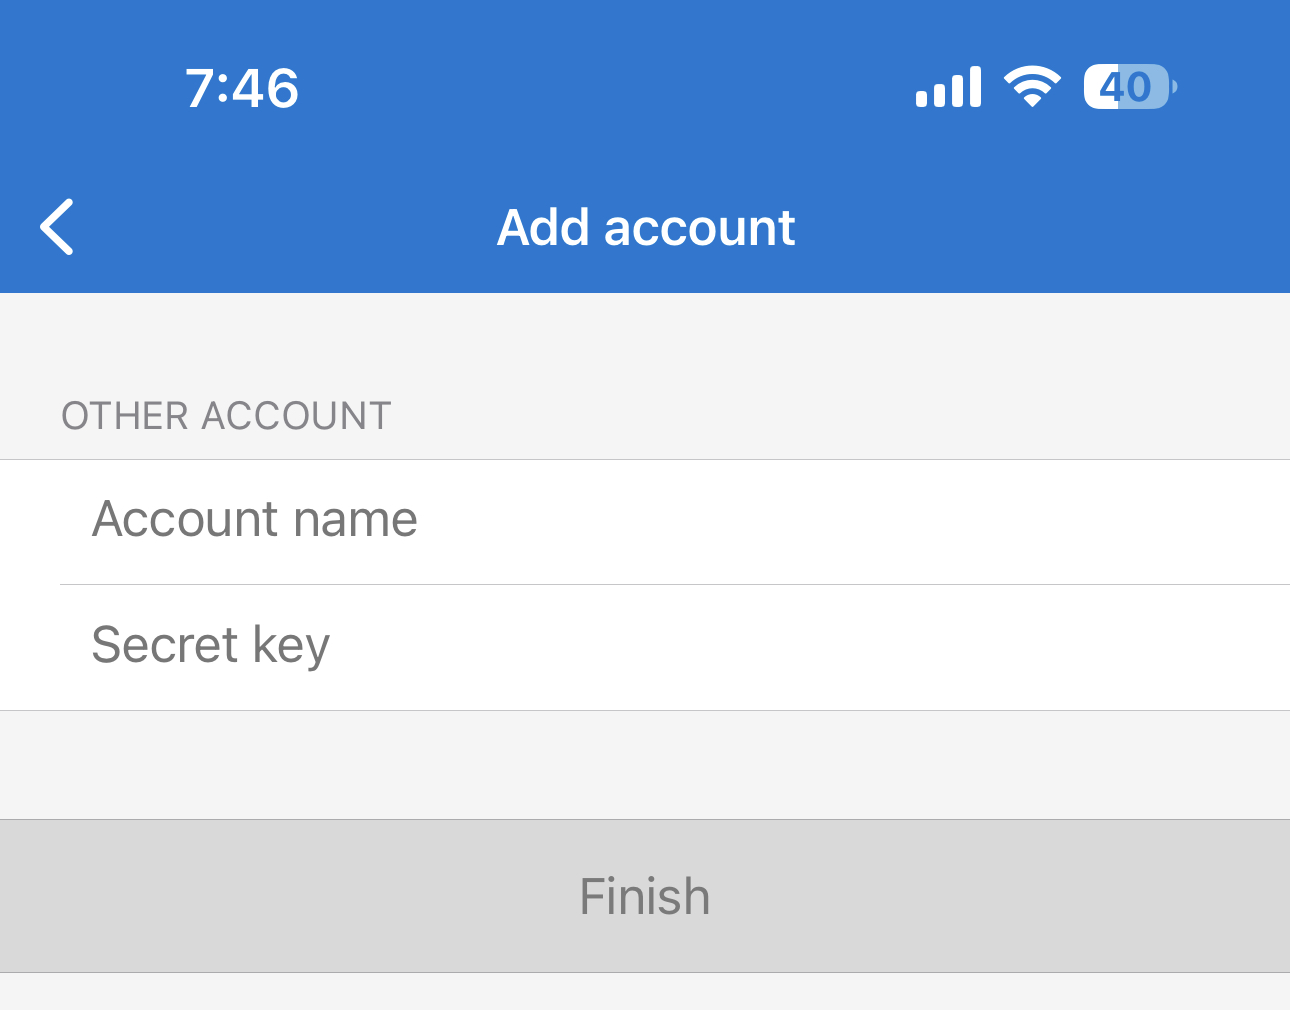
- Set up the details
- Account Name: Any identifiable name for Hubdoc.
- Secret Key: Paste the previously copied manual key.
- Click "Finish."
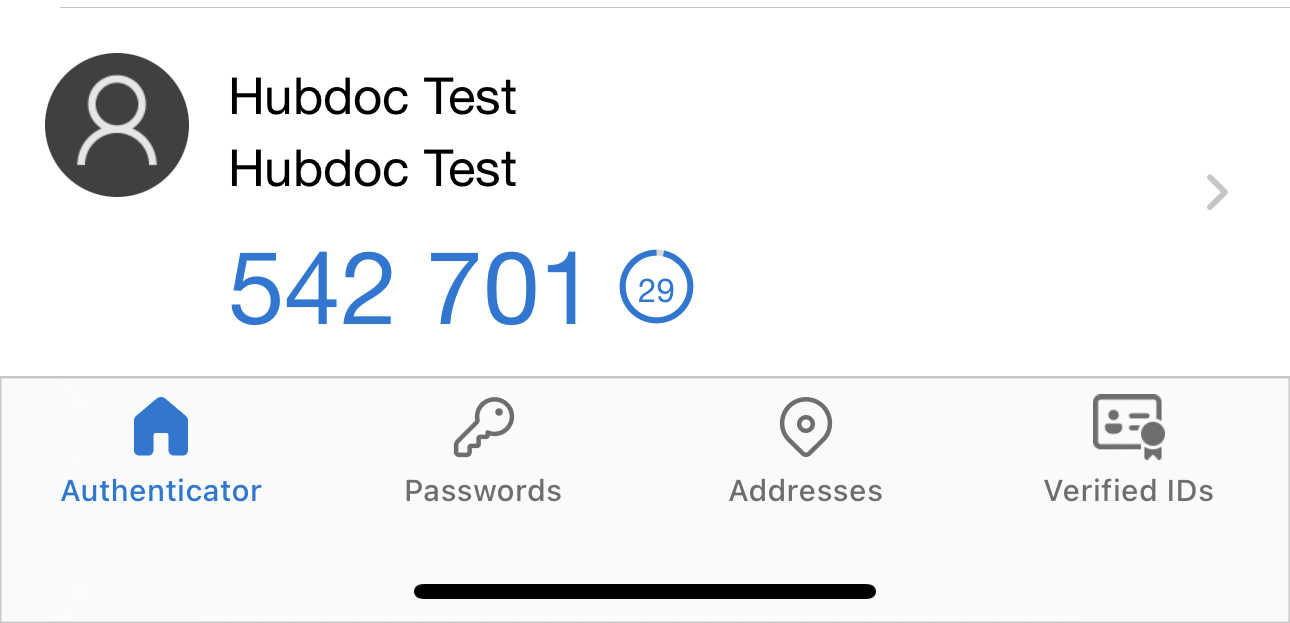
- Obtain the 6-digit code from your authenticator app.
- Paste the code in the "Authentication Code" field in the Hubdoc app.
- Click "Verify code" and then "Continue to App."
- You will be redirected to the Hubdoc app.
Need Further Support?
Contact us via email at admin@profit1st.com.au